The digital platform has changed completely with the innovations of new technologies. We have more advanced software for our computers and useful applications of those software for our mobile devices. PDF Viewer is essential for both, PC users and mobile users. If you’ve been looking for a new PDF tool for your Mac system, then PDF Studio 2018 is here for you. The newly PDF Studio 2018 edition brings a lot of enhancements and new features to the existing studio for the users.

The new PDF Studio 2018 includes all the useful features that you need to edit and work with the PDF files. With this PDF Studio software on Mac, you can easily get a PDF file of a scanned document. The software also lets you convert the Microsoft Word file, text file and other plain images to PDF formats quickly. The software runs smoothly on your system and offers all kinds of useful features to make the most of it.
Moreover, the tool offers a comprehensive set of tools and review to get an desired PDF document as per your requirement.
If we talk about the useful tools inside this software, you would get tools such as text boxes, sticky notes, free hand annotations etc. The built-in tools on this PDF Viewer allows you to make proper changes to the existing PDF file quickly. You don’t need to rely on other software for making minor changes. The PDF Studio 2018 software does everything for you.
Moving on to the security features, the software allows you to secure your PDF documents with encryption, Passwords, digital signatures etc. You can store your PDF document with full security. These all are the latest features pushed into this new updated PDF Viewer software. The same set of features were not available in the previous edition of the software.
The latest PDF Software 2018 has got all the features which are essential in this busy life. The software keeps you up-to-date with everything as it offers all the features that you were looking for in an ideal PDF Software for your Mac system.
Qoopa’s updated PDF Studio 2018 software is available for Windows, Mac and Linux PC Operating System. This software has cross-platform functionality which lets you read the PDF documents from any other systems. The software comes in different versions for different types of people and their demands.
- Display PDF files
- Markup and annotate PDFs with built-in tools
- Quickly fill out the forms
- Save your PDF files and documents with high-end security options
- Make use of digital signatures in the documents
- Advanced options for Search and Print
To work with this latest PDF Viewer software is pretty easy and anyone can start making use of this software. You can follow the below given step by step tutorial to download and install this Software on your Mac system.
How to download and install PDF Studio 2018 on Mac?
Step 1:
First, you need to visit their official website. Click on to the below given link and you will be redirected to the official website of Qoopa PDF Studio.
PDF Studio 2018
Step 2:
On the homepage, you could see different options. The Software has three different versions- Free, Standard and Pro. As per your basic requirements, you can go with the most suitable one.

Step 3:
Here, we are going to download the Free version of this software. Click on to the Download button given below the first section.

Step 4:
Downloading process of the Setup file will begin itself. It will take a few minutes to complete the process.

Step 5:
Double click on to the Downloaded setup file. Soon, the software will be installed on your Mac system.
Step 6:
Go to the Applications folder and select PDF Viewer’s icon.
Step 7:
You need to click on to the Open button when asked, the installation wizard will extract the required files.

Step 8:
You need to select the language. By default, the software will show you English. Just click on to the Ok button.

Step 9:
Setup wizard will be there on your desktop. Click the Next button.

Step 10:
The system will ask you to agree with the terms and conditions. Select this option and click the Install button.

Step 11:
Installation process will itself take place.

Step 12:
Soon, the Software will be installed on your system. You would see a message on the desktop.

Step 13:
Click Finish button to launch the PDF Viewer 2018 Software on your Mac system. On the front page, you could see a variety of options and tools. You can make use of all these tools on your PDF file.
In order to launch the PDF Studio Viewer 2018 on a respective Mac system, all you have to do is just go to the Apps menu from the Dock. You would see all the installed apps on your Mac system. From here, you need to click on to the icon of PDF Studio. The software will be launched on your Mac system.


On the front page, you could see all the available options and tools which are ready to use for the users. Being the free edition, there are some limitations here. You can still make use of almost all the handy tools and useful features.

At the top of the main page, you could see File, Home, Comment, View and Help option. These common options are available on Microsoft Word. You would get kind of same environment here to explore on this PDF Viewer software.
To open any PDF file, you just need to click on to the File option and browse the PDF file which is already available on the system. Browse the file and click the Open button.

The file be opened on the software and you could see the main Window with sidebar Window here. Sidebar Window shows all the pages of a PDF document which you can use as per your requirement.

Apart from this, the above-mentioned tool such as Zoom in, zoom out, advanced search etc. help you to edit the PDF file. You can also make use of various shapes to edit the existing PDF file through this software.


To save the edited document, you just need to select the File option from the top menu and select Save button. A new Window will be presented to you, you need to enter the name of this file and select Ok button to save the edited PDF file to your desktop.


![Top 5 Free PDF Editors for iPhone & iPad to Edit PDF Files easily on iOS [iPhones & iPads]](https://techapple.net/wp-content/uploads/2018/08/Screenshot-at-Aug-25-18-36-02.png)


![How to Enable Dark Mode Theme on iPhone & iPads [iOS 10 & Later Supported]](https://techapple.net/wp-content/uploads/2018/08/Screenshot-at-Aug-25-16-53-20.png)


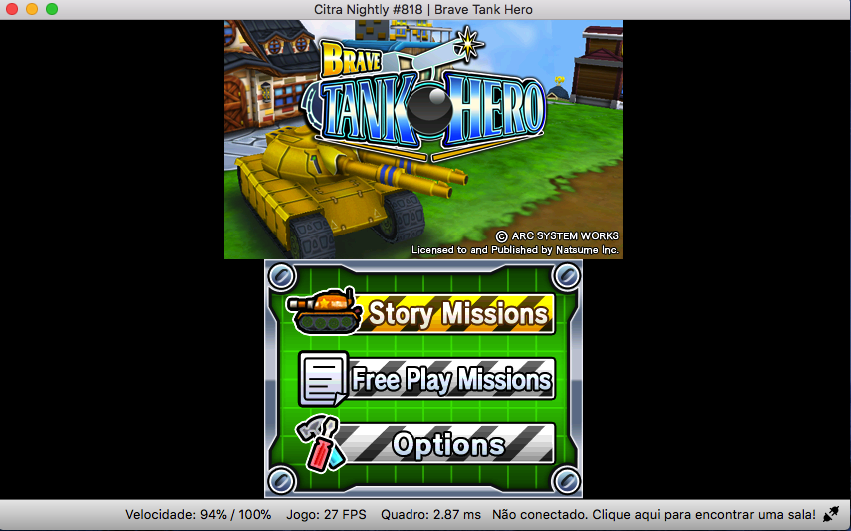


![[Working] Nintendo 3DS Emulator for PC – Windows 10 / 7 / 8.1 [Download for 32-bit & 64-bit]](https://techapple.net/wp-content/uploads/2018/07/citra11.jpg)