Recently I wanted to capture my WhatsApp chats with a friend, but unfortunately there was no option to capture complete chat at once as it didn’t fit in a single screen. Now, to overcome I started looking for options and found one using “Stitch & Share” app. Read on below for the complete method on How to Capture long big scrolling screenshots in Android & MIUI . Besides this method works on all famous android versions such as 4.4 kitkat , 5.1 lollipop and 6.0 marshmallow too
Tutorial to capture Capture big & long scrolling screenshot of chats in Android –
- In this tutorial we are going to “stitch” the captured screenshots , so first capture a sample screenshot which you want to start with
(Note – Incase you don’t know the method to take a screenshot try the combination of volume down + power key simultaneously)Now after you have captured your first screenshot, Please scroll down and take another screenshot.
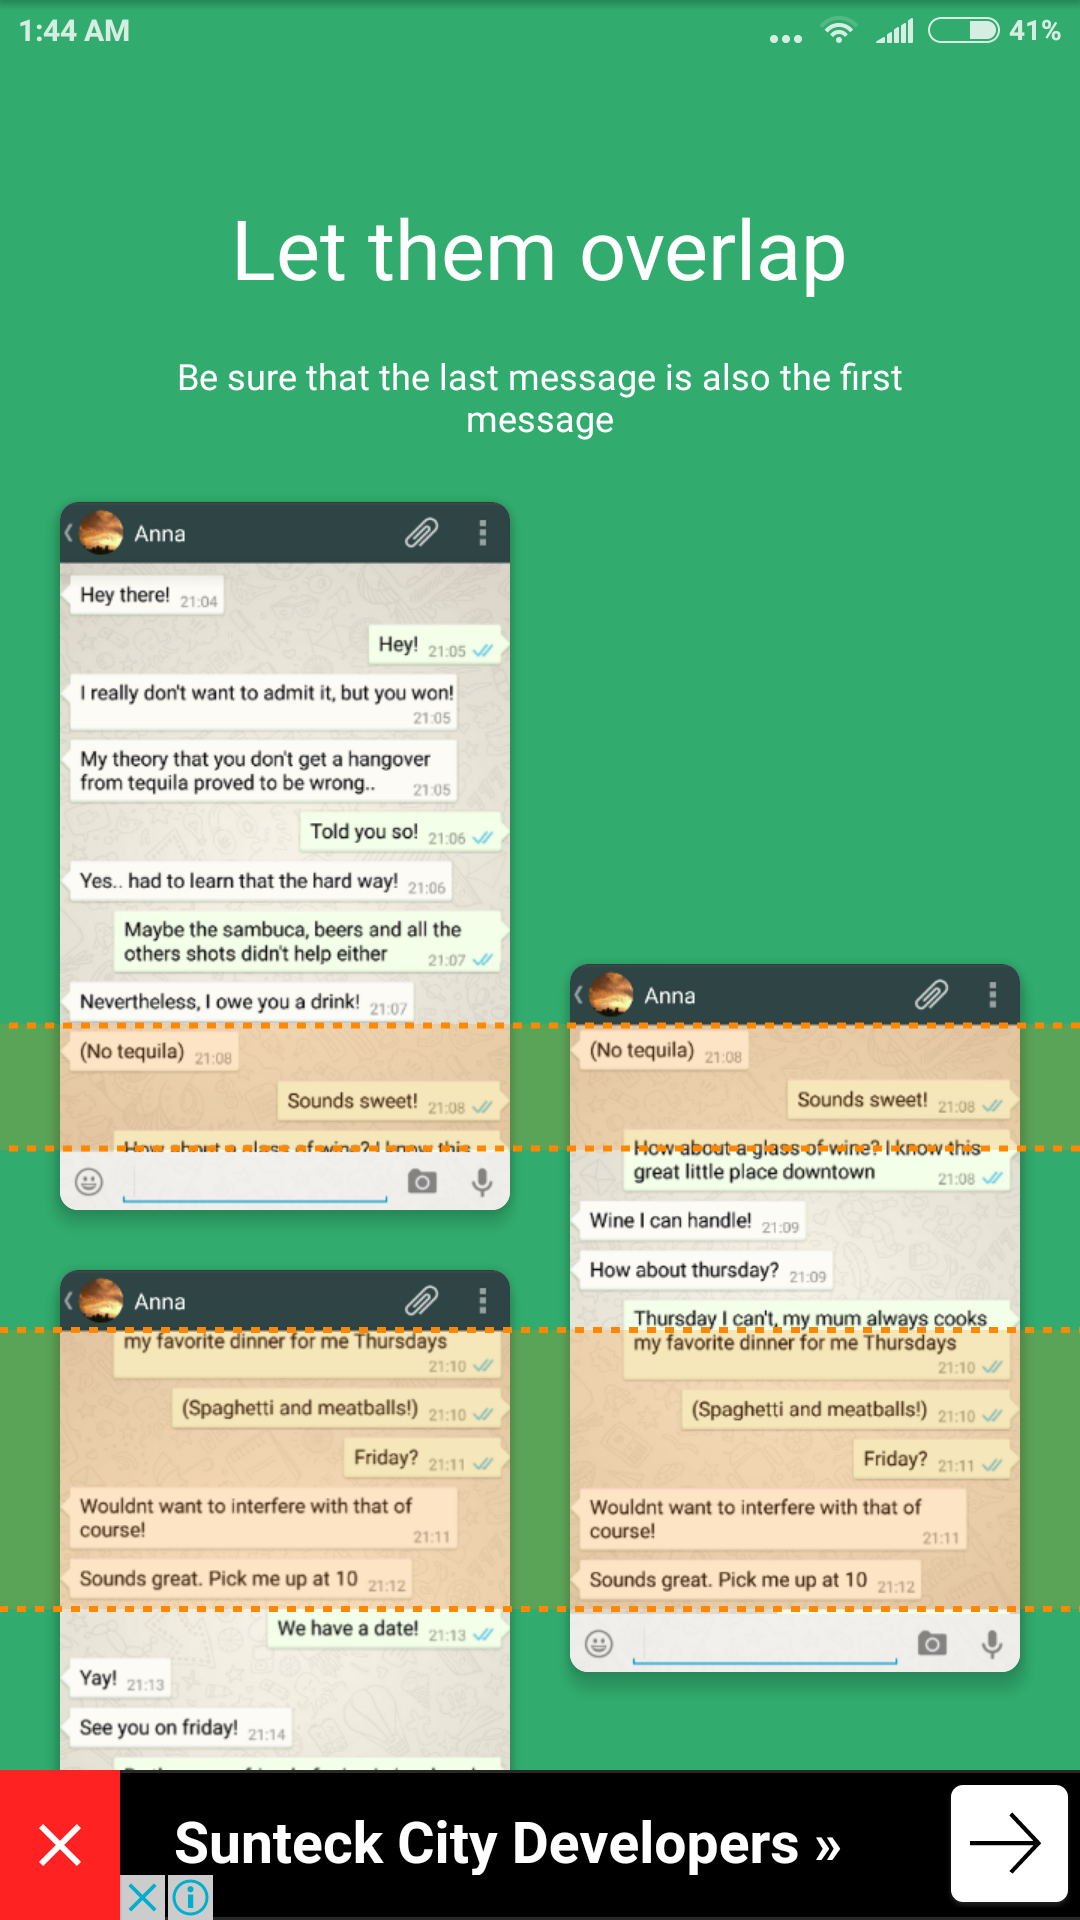
Note – Please make sure the last message of the first screenshot is again repeated in your next screenshot. Thus overlapping the texts as shown in the example images below –
First Screenshot (Last message highlighted by box to repeated) The last message of first screenshot is to be repeated as shown in the next image below –

last message repeated in next screenshot Now using this message repetition technique capture as many screenshots you intend to stitch into a single one.
- Now inorder to stitch them up, Download & install “Stitch and Share” screenshot app from Google Play from the link below –
Click here to Download Stitch & Share Screenshot app from Google Play Store. - Once you have installed the app it will now prompt you with two options as shown in the below image –

Select Add Screenshot in Big Screenshot app - Now from the file gallery window which opens, select the most recent screenshots which you have taken and want to stitch and tap on OK.
- Now in the preview window, tap on the “plus +” icon to append the next screenshot as shown in the image below –

Tap on Plus to add second, third screenshot for stitching Note – In MIUI , you will need to select screenshots one by one by tapping on OK to add one screenshot and again adding second by same method
- The Screenshots you added will automatically be stitched! as shown in the below image –

Successfully stitched screenshot! That’s it ! Thus all of your chat is now combined into a single long big screenshot. Tap on the Green arrow highlighted by “blue arrow in the above image” to export your chat!
- The Screenshots you added will automatically be stitched! as shown in the below image –
- That’s it ! you have now saved your entire chat conversation into a single big long screenshot. Do let me know if you face any problems or encounter any issues.
![How to Read/Write to NTFS disks on USB OTG in Android No Root [Enable NTFS Mount without rooting]](https://techapple.net/wp-content/uploads/2016/08/b46c60e3ed354db69501399bdf645556.png)


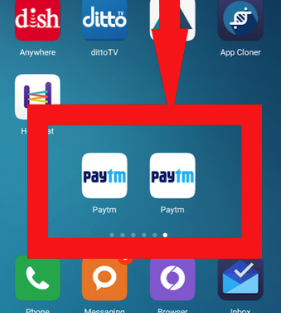


![How to Run 2 variants of same app using Parallel Space on Android Phones [Tutorial]](https://techapple.net/wp-content/uploads/2016/05/paYi7TV.png)


![Top 5 free VR Video Player apps for Android [360 – SBS 3D]](https://techapple.net/wp-content/uploads/2016/02/LOlSR95.png)


