Trouble remembering your password?
I’m pretty sure you must have been in a where you’ve forgotten the password for logging into an app, software, email or device. And not just once, I’m guarantee you may have gone through this at least a dozen times in your life so far. There’s nothing abnormal about this, neither is it uncommon! In fact, as you are reading this post, there must be thousands of people around the globe who’ve forgotten a certain password and are trying to remember or recover it.
Now what people commonly do in such a situation is that they usually stress their brain to try and remember the password, and when they fail to do so, they hit the “Forgot password” option at the bottom of the screen. After this, the user is sent a verification code or link to his/her registered email ID and they have to access the link and a few more steps to generate a new password.
The next level solution!
With hundreds of apps and software used on a daily basis, this has become such a common thing in today’s hectic world that people consider the “Forgot password” option to be the best way to access their account again in case they forget the previous password.
Let me talk about Mac/ iOS users and iTunes backups and passwords in specific.
What if I tell you about a tool that can help you retrieve your forgotten password in a matter of few clicks? Yes, you read this right! Today I’m going to brief you about a very interesting and amazing software that will help you retrieve your forgotten passwords anytime, anywhere. This software is called iTunes Password Genius by iSunshare.
What is iSunshare?
iSunshare is a package or series of amazing multiplatform password and data recovery tools that have been designed to facilitate users to retrieve their forgotten passwords and other data for their iOS and Windows devices. The package includes a series of the following tools:
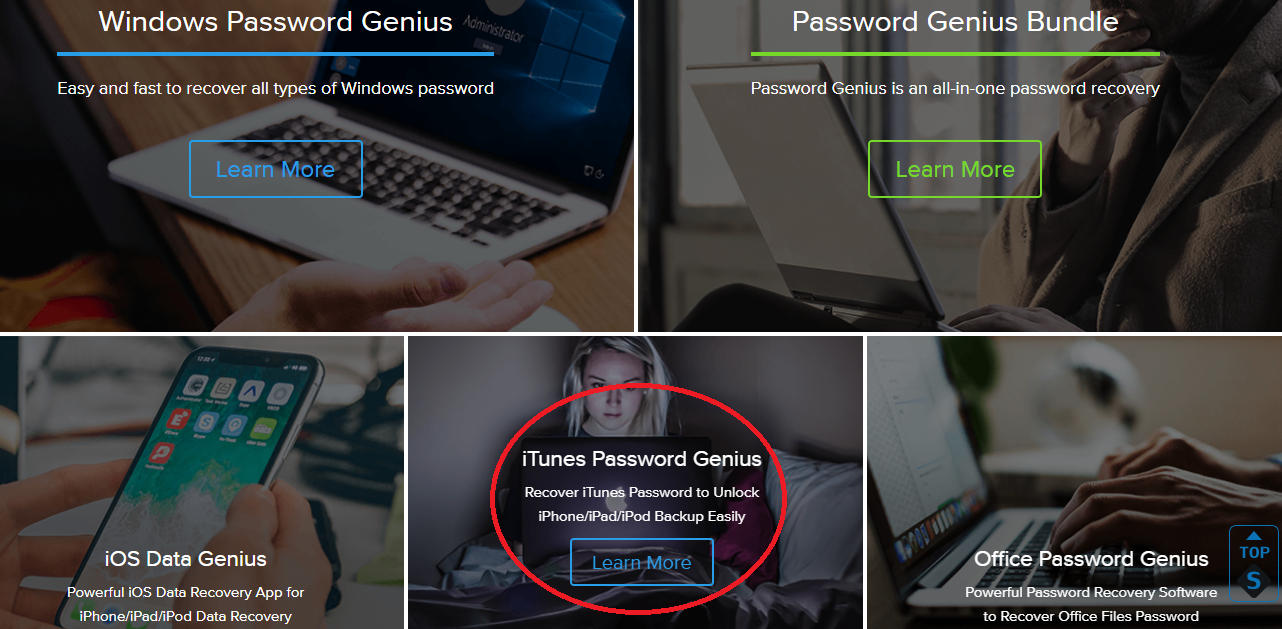
- iTunes Password Genius
- Windows Password Genius
- iOS Data Genius
- Office Password Genius
- Password Genius Bundle
iTunes Password Genius
The iSunshare iTunes Password Genius is a tool designed specifically to recover iTunes passwords to unlock your iOS devices Backup easily including iPhone/iPad/iPod.
iTunes Password Genius works best in situations where users have forgotten the password to unlock iPhone or iPad backup and cannot restore iPhone/iPad/iPod information from backup. Using this tool, you can unlock iPhone/iPad/iPod backup easily, and then you can easily restore your contacts, calendars, notes, audio, videos, apps, photos and settings with iTunes backup on computer or laptop, be it Windows or Mac OS.
Highlight features
Here are a list of key features that make iTunes Password Genius an amazing and useful tool for password and backup recovery for iOS users.
Create a new administrator account easily without logging in.
The tool is one of the easiest to use and quickest to work with. From the beginning till the end, the entire process takes just 3-5 minutes to execute.
- Recover all types of Mac passwords
You can use this tool to recover all possible types of Mac and iOS passwords in just a few minutes, without any hassle.
- Multiple ways to create password reset disk
iTunes Password Genius uses a 4 attack types (Methods) for password recovery.
- Brute-force method
- Mask method
- Dictionary method
- Smart method
Each method offers some attributes you can set to increase the recovery rate.
- No loss of data on computer or iOS device
Retrieve any type of password while being convinced about the safety of your personal and professional data.
- Free download and License key service
A one-time payment for the entire package that gives you access to
Available versions and Technical details
iSunshare iTunes Password Genius offers 2 different variants for Windows and Mac users.
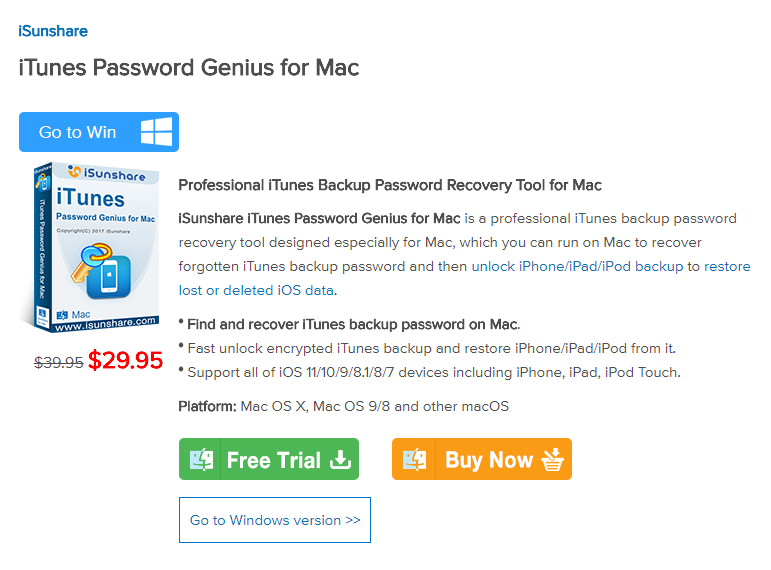
For Mac users, the software is called iSunshare iTunes Password Genius for Mac, which is a professional iTunes backup password recovery tool designed especially for Mac OS. You can download and run this software on Mac devices like MacBook and iMac to recover forgotten iTunes backup password and then unlock iPhone/iPad/iPod backup to restore lost or deleted iOS data.
For Computers and Laptops running on Mac OS, the supported platforms are Mac OS X, Mac OS 9, 8 and other Mac OS.
For Windows users, the software is called iSunshare iTunes Password Genius, which is a professional iTunes backup password recovery tool designed especially for Windows. You can download and run this software on Windows computers and laptops to recover forgotten iTunes backup password and then unlock iPhone/iPad/iPod backup to restore lost or deleted iOS data.
For Computers and Laptops running on Windows, the supported platforms are Windows 2000, 2003, 2008, 2012, 2016, XP, Vista , Win7, Win8, Win10 (32 bit & 64 bit).
The best thing about iTunes Password Genius is that it supports all of Apple devices including iPhone, iPad, iPod Touch running on iOS 11, 10, 9, 8.1, 8, 7.
How does it work?
Here is a quick step by step break down on how to use the iTunes Password Genius to retrieve your forgotten Mac or iOS password. There are 2 basic steps involved.
- Download and install iTunes Password Genius
Download and install iSunshare iTunes Password Genius on your Mac or Windows computer/laptop.
- Select encrypted iTunes Backup
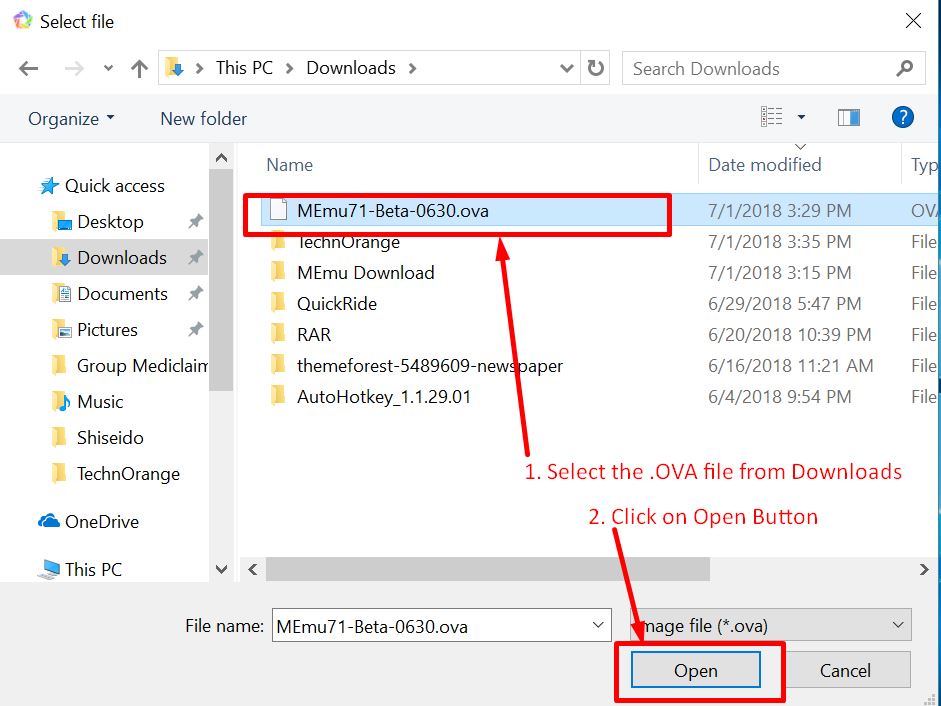
After clicking the Open button, this app will automatically fetch all your available backup files and list them with the backup time and device Serial Number.
Now simply select one encrypted backup file and click “OK” to continue your password recovering process.
- 4 attack methods to recover iTunes backup passwords.
After selecting the backup file, choose one attack type and start the recovery process. iTunes Password Genius offers 4 attack types (Methods) for password recovery.
- Brute-force method
- Mask method
- Dictionary method
- Smart method
Each method offers some attributes you can set to increase the recovery rate. These include options like the password range and length.
- Wait for your password!
Once you have chosen your method and necessary attributes, leave the system undisturbed to complete the password recovery process. THIS MAY TAKE A FEW MINUTES!
NOTE:
iTunes Password Genius will take a fairly long amount of time to unlock encrypted backup file if the password which is either long or contains numbers, letters and special symbols. But if the password contains only some combination of alphabets or simple numbers, the retrieval process will be much quicker.
Why do we recommend iTunes Password Genius?
Apple Inc. had previously claimed that there is no way to recover your information in the backup if you lose or forget the password of your encrypted iTunes backup. You need to use the correct password to unlock the encrypted backup file. In case you forget your password and enter a wrong one, the system shows this popup message on your screen.
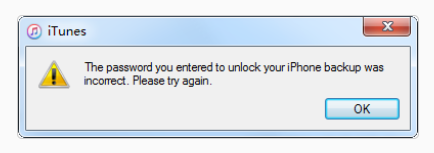
When you fail to recollect the correct password that is where iSunshare iTunes Password Genius comes into play! You can use this app to quickly try all possible characters combination to find your lost iTunes backup password, and then unlock your backup files.
iSunshare iTunes Password Genius is relatively professional, effective and cheap compared to other similar recovery apps in the market. The software is easy to use and pretty smooth at recovering almost all possible passwords you may have used and forgotten.
Since the app employs 4 powerful recovery methods that use a digital permutation and combination algorithm to retrieve all possibilities of the forgotten password, the chances of retrieving the correct password is in the high 90’s.
A very convincing and probably the best part about iTunes Password Genius is that there is no loss of any personal or professional data from your Windows, Mac or iOS device storage while retrieving the password.
Plans and Pricing
The purchase price for both Windows and Mac versions of the iSunshare iTunes Password Genius is the same at $29.95
This is a one-time payment amount, following which you will get access to all of the listed features and tools of the software forever, including access to a free license key service. There are no monthly/annual billings or subscriptions involved whatsoever.
In case you are not sure if you should cash in or not, the developers also offer a feature-limited free trial for both their packages for recovering not more than 3 characters password. You will have to purchase the full version if you want to use it to retrieve a longer password.
For more information regarding their plans, pricing, features, overview and customizations, visit the iSunshare Official Website.


![Top 5 Torrent VPN Apps for Android with Security & Speed [2020] | Anonymous Torrent Downloading & Unblocking](https://techapple.net/wp-content/uploads/2018/07/vpn1.png)
![How to Install Memu Nougat Emulator for PC / Laptop [Windows 10/7/8.1]](https://techapple.net/wp-content/uploads/2018/07/memu14.jpg)


![Download Tencent Gaming Buddy (Android Emulator) [English] for Windows 10/7/8.1](https://techapple.net/wp-content/uploads/2018/05/Screenshot_12.png)


![How to Install and Run Chrome Apps & Extensions on Android [Full Tutorial]](https://techapple.net/wp-content/uploads/2018/05/img3.png)


![Download Momo App Player for PC / Windows 10 , 7 & 8.1 [English Version]](https://techapple.net/wp-content/uploads/2018/02/Screenshot_8.png)